Here we are at about the halfway point! By now you should have paired and sewn all your HSTs together and trimmed them to size. Or not. Perhaps you are assembling the quilt as you go, either in rows, or in blocks of four. I have done both, and think I prefer in blocks of four because of being able to spin seams when pressing and avoid lumps where eight triangles come together.
We interrupt this blog post to say, "GO Corbin Watson!" He's the goalie for Team Canada's hockey team in the Paralympics and is from Kingsville! They've won all three of their games so far and play again tomorrow. I'm so happy that the Paralympics is getting more attention these days; IMHO these athletes have more heart and determination than 'regular' athletes. 💖😍
Ideally, if this is the halfway point, I should have 10 of the 20 rows sewn together. Well, I have not quite half that amount...what a good example am I? I have been rather busy of late! Here is my progress so far and I am loving it:
Here are a couple of tips that I have discovered helpful:
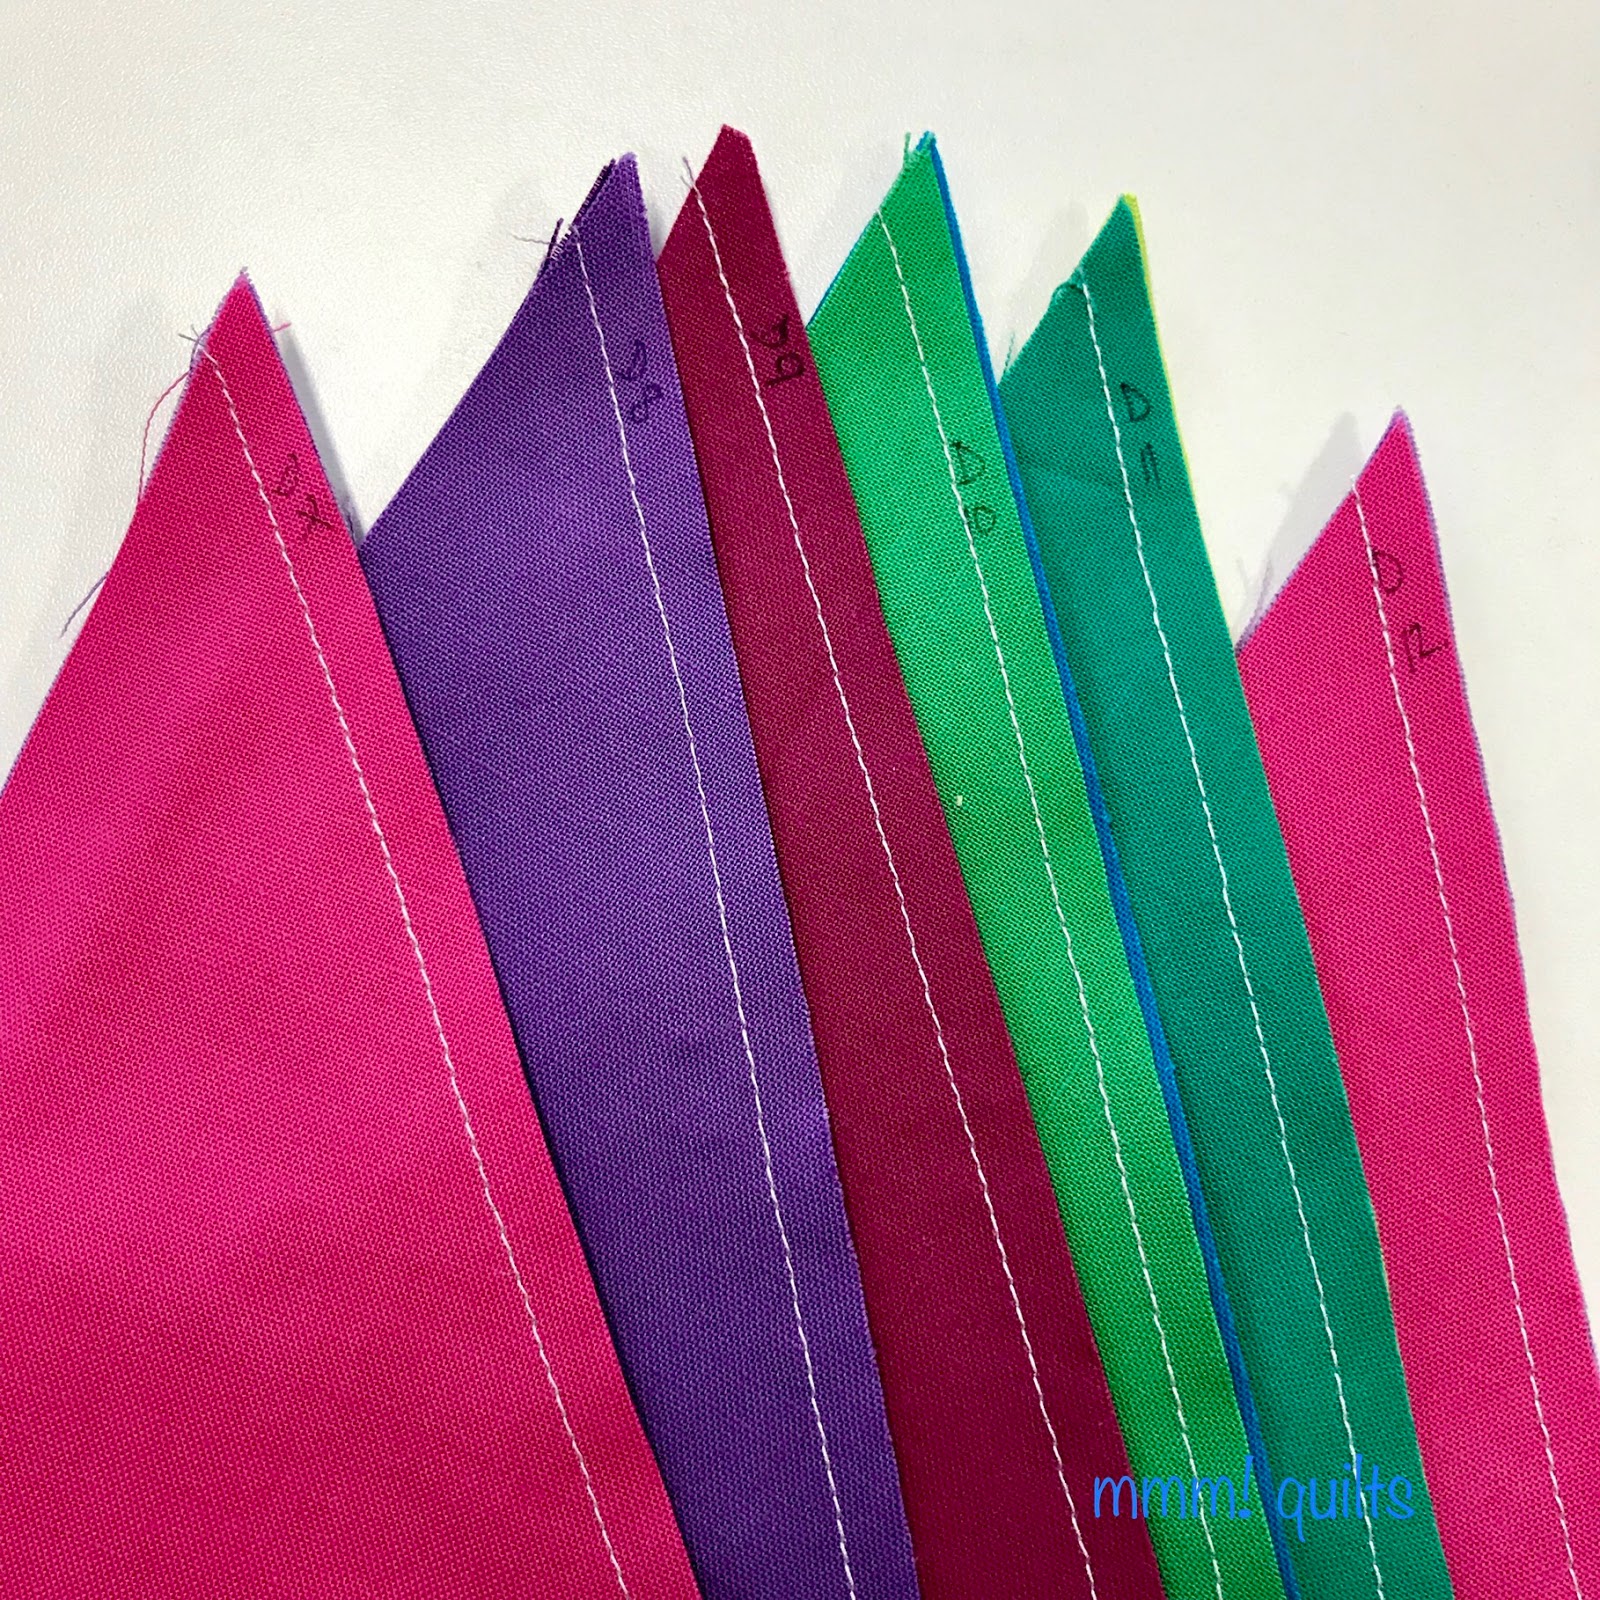
1. I label the HST pairs with a fine tipped marker within the seam allowance.
This way when I press them, I don't have to worry about pressing painter's tape, or a self-adhesive label, or having it fall off. Trust me, I've done this on many many quilts over the past 20 years, marking within the seam allowance, with never an issue.
2. I press to the side, 'the dark side' to quote Angela Walters and Jenny Doan, lol, and this ensures all these seams nest beautifully. Pinning has been minimal. If you spin the seams, as in unpick a stitch or two within the seam allowance where the seams join, something Carrie Nelson (think Moda's blog and Schnibbles) is well-known for, then you can press them all in the same direction, and the bulk is reduced by half.
 |
| Love those cute teeny pinwheels that form! |
Okay there's my HSTs sewn together step NOT complete, but I'm going to keep plugging away between my other projects, 😉 and eventually I will have a quilt top. Let's see what your stitched HSTs look like by linking up your quilt progress below.
For the Postcard from Sweden schedule,
click here. Remember there is its own page under the tab Quilt Alongs at the top of my blog page.