Welcome to Step 2 where we begin to sew all our lovely triangles together to make them into squares again. So, you have cut all those 360 gorgeous triangles, yes?
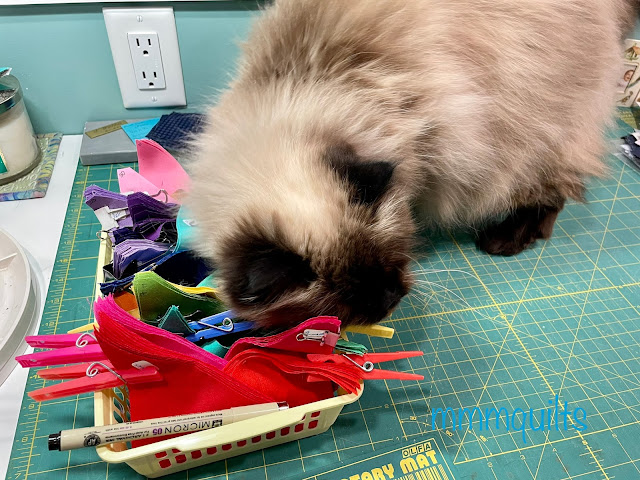 |
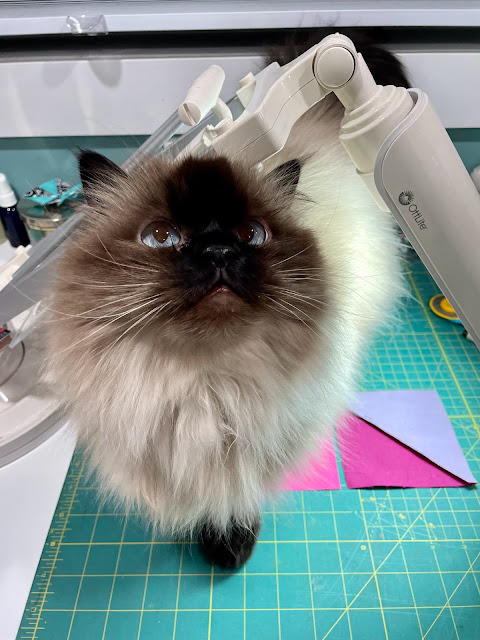
| Bella loves them |
This time around hosting this QAL, I've split sewing the quilt top into three steps: we will make a third of the quilt at a time. This way I can show you some super-cool tips for construction which will make your assembly life a lot easier.

Now maybe you're a quilter like me, who often cuts a bunch or sometimes even a bit of the quilt out, and starts sewing because I just have to see what it's going to look like. So you may not have all your triangles cut, but you've started sewing. That's fine. This QAL is not hard and fast on rules, other than I have been asked by Kelly Liddle, the designer, to only share the pattern with participants, and that, I realize, is on the honour system, so please do show your progress and we can cheer each other on.
Labelling Tip #1
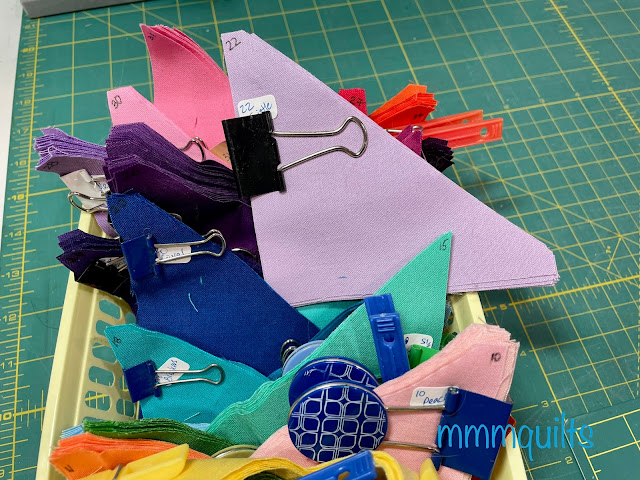
It is imperative to keep the colours numbered and clipped together. I found that my stick-on labels often fell off after the amount of handling all these triangles take. To avoid the peril of not having a clue which number the various pinks are if labels have fallen off, I clip the triangles together ensuring my clip is also holding the stick-on label AND I also label the top triangle in the seam allowance with its appropriate number.
Below you can see #22 Thistle pulled out of my basket of 36 colours. Each one of the 36 is similarly labelled and clipped with either a binder clip or clothespeg. When I pull out a Thistle triangle, I take it off the bottom, so the top triangle that is labelled with my Micron Pigma pen is always on top until the last one of that colour gets used.
Pressing Tip
Follow Kelly's excellent numbering system for assembling her design, and you will see that for Row A Column 1 square you take Lipstick and Bright Pink and sew them together. Easy. If you've used an AccuQuilt die to cut them, press open or to one side and you're done. Personally, I like to press to one side for a quilt with a lot of HSTs, so that you can nest the seams, which gives you lovely perfect intersections. For the most part. I mean I am human. If pressing to one side, press all the seams in Row A in one direction (i.e. to the right) and all the seams in Row B to the opposite (i.e. to the left).
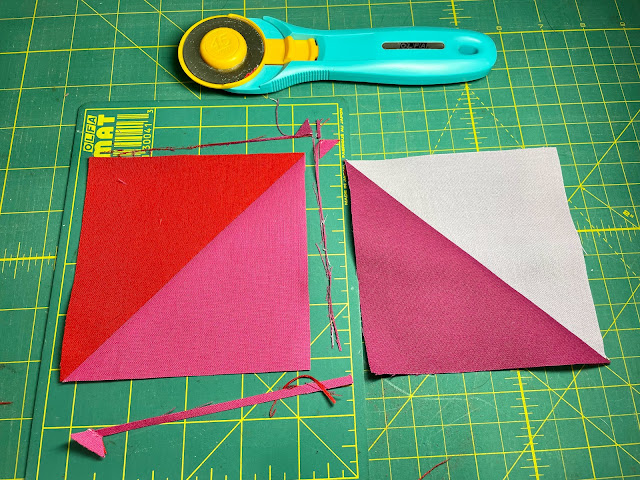
Trimming Tip
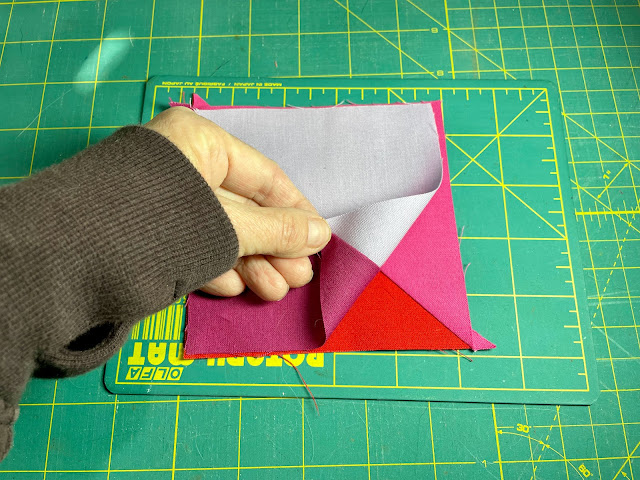
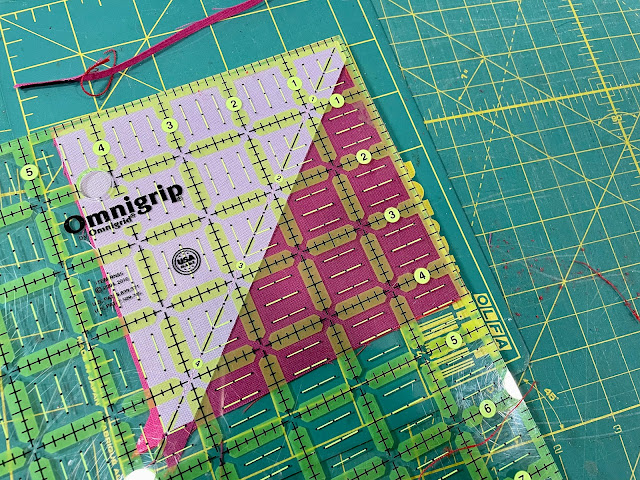
If you've not used an AccuQuilt die, here is a tip that will cut your squaring up time in half! Stack two HSTs on top of each other. Wiggle the seams along the bias together. You can feel them butt up against each other. Carefully set them down on your cutting mat.
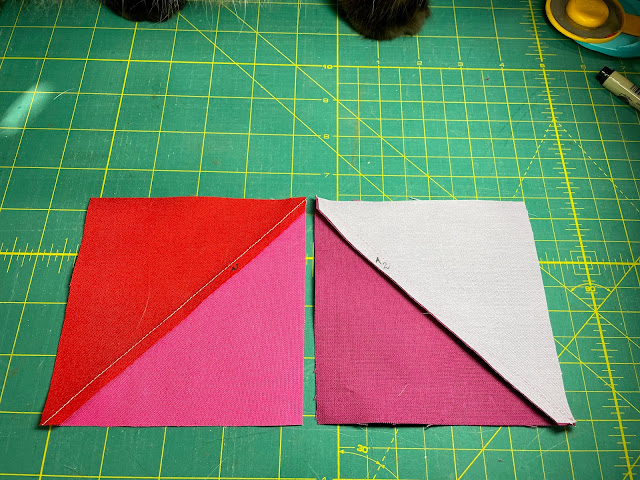
Labelling Tip #2
Take a Micron Pigma pen or any permanent labelling pen and write within the seam allowances, A1 on the Lipstick/Bright Pink square, A2 on the Thistle/Cerise square and so on. Do this after you press to one side, somewhere close to the middle of the squares.
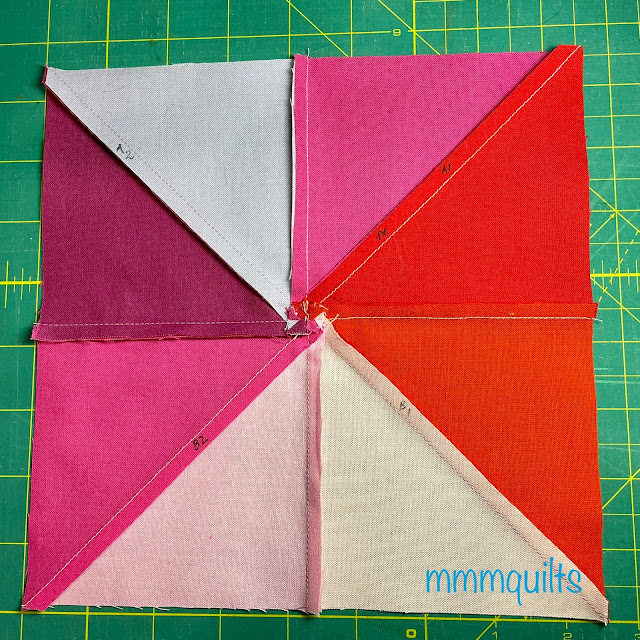
Construction tip
Kelly has you assemble the quilt in rows. I found that assembling the HSTs into blocks of four, pinwheel style, worked better for construction. This way you can spin the seams so that centre intersection where 16 layers of fabric meet, will lie flat. Here is A1/A2 sewn with B1/B2 into a pinwheel.
Hope these tips help! Organization is key for this quilt. Then again, if one or two triangles are out of place who is really going to know? 😉
Another minor correction
My good friend Debbie in New York (she has a good eye!) emailed me to let me know that the last square on Row E is oriented differently on Kelly's actual quilt, as compared to her quilt layout diagram. It is not a major error; my first quilt is made according to the layout and looks fine.
 |
| Flimsy of my 2018 quilt |
Compare the quilt along graphic to my photo, and you decide which way you want that green square: 14/15 as in the layout, or 15/14 as in Kelly's quilt! Thank you Debbie!
You now have two weeks to get the top third of the quilt sewn together. If you are assembling it in rows, that will be the first five rows. If you are assembling it in the pinwheel method I showed you here, then you have a choice: assemble the first four or six rows. You know your own schedule and real life demands!
Please be sure to link up a photo in the hashtag pool
and tag me @mmmquilts
Your Instagram account must be public to have your photo show up in the hashtag pool. If you don't have Instagram, you can email me a photo and I can post it for you. Click View my complete profile on my sidebar for my address or:
ephdra at gmail dot com
Happy piecing!
I hope quilters are enjoying the cutting part because it sure sounds like there are a lot! I'm looking forward to seeing how everyone's quilt comes together. It's so nice of you to lead this QAL.
ReplyDeleteYou sure are lucky to have Bella to help you sort all your colours so neatly.
ReplyDeleteI am enjoying reading all these tips. They have some very real applications to many of the quilts we make. My friend The Grim Ripper and I had a long conversation last weekend and even though I had "labelled" my pieces those labels were everywhere but where I had put them! Looking forward to seeing these quilts progress.
ReplyDeleteThanks for all the tips, Sandra. I'm enjoying them even though I'm not sewing along. I really wanted to.... This will be a great reference someday when I do my QAL (Quilt Alone Later)
ReplyDeleteOoh for some reason I thought I had to have a third of the quilt done by today and it just wasn't going to happen. I'm so glad I've got another two weeks; I should get it done.😁
ReplyDeleteI've not joined in with this, but do like seeing some of your tips even though I've done some of them too for years, though there is always someone out there that hasn't seen them done as you are showing in good detail. Thanks Sandra, take care & hugs.
ReplyDeleteGreat tips!
ReplyDeleteIt's fun to follow along ... even though I decided that I have enough to do! :-)
I'm another that hasn't been able to join in, the dog ended up at the vet with idiopathic vestibular syndrome. Hence, I've been constantly on call for water, food, stopping her hurling herself down the stairs, etc. Poor girl is recovering well for 91 in dog years.
ReplyDeleteBut I'm really enjoying the posts, and especially Bella - our fur babies really can be so helpful. She is such a beautiful cat. Thanks for sharing Sandra!
I've been collecting fabrics, have cut some few, and been out of my house the last week. Now it's time to start sewing. Nice.
ReplyDeleteGreat hints on how to make this lovely quilt. I really hope I do it one day, it is so stunning.
ReplyDelete